
Step-By-Step Guide to Identifying Water Damage in Ceilings
 Water damage is a prevalent issue for a majority of homes in the US, especially those in rainy areas. Dealing with water-damaged walls is one thing; having to deal with water damage on the roof is an entirely different ball game. Roof leaks can be quite extensive and may disrupt your life extensively as well.
The best way to avoid this inconvenience is to find water damage on ceilings long before it becomes a major issue. Instead of waiting for a leak to develop, you can look for patches where the paint may be peeling off or is a bit darker.
Here, we will present you with a step-by-step guide to identifying water damage from ceilings long before it becomes a major issue and what you can do to avoid having to go through the entire roof water damage restoration process.
Identifying Water Damage on Ceilings
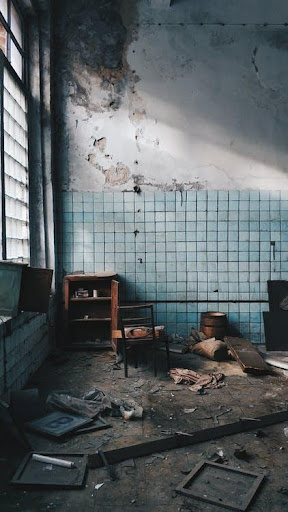
If you fail to identify water damage on your roof, there is a very good chance that the damage will get worse over time. What could have been dealt with easily a while ago by simply waterproofing the will develop into a full-blown crack or a leak in the ceiling.
When this happens, the time and cost of water damage restoration will get much higher. From rot developing in the attic to mold spores finding their way into the drywall and insulation, the possibilities are endless.
What to Look For
Following are some early signs to keep in mind that will help you identify water damage on ceilings along with helping you understand the severity of the potential of the leak.
Step 1: Find Water Stains On The Roof
Water leaking into the attic will eventually saturate through the insulation and reach the drywall on the ceiling. Water stains are much quicker to develop on drywall. Turn on the lights or use a flashlight to illuminate every portion of the roof. Start from the corners and make your way inwards.
If there is no drywall on the roof – just concrete – the stains will take much longer to develop. In this case, a visual inspection may not be enough.
If you sport any wet spots or a particular corner that may seem like it is a darker shade than the rest, the chances are that your roof has a leak. Note that the stain can also be a result of moisture being trapped in your attic due to poor ventilation. Either way, you should call us right away to get it looked at.
Step 2: Conduct a Physical Inspection
While this method is particularly useful for drywall, conducting a physical inspection of concrete roofs can be much more effective than a visual inspection. The goal is to find any spots that are colder than the rest or feel squishy (in the case of drywall).
Concrete roofs take time to show the signs of damage but will show signs of temperature change fairly quickly. Start from a corner and use your hand or a thermometer to identify points that are colder. If you find any (especially during winter seasons), there is a very good chance that water is seeping into the specific spot.
For drywall, these temperature changes may not be as apparent. Instead, try pushing the ceiling up a bit to see if it is squishy. If so, you may have moldy insulation or rotted beams. In this case, you can expect your roof to start leaking at any time. You should consider getting in touch with water damage restoration and mold removal companies immediately to prevent further damage.
Step 3: Look For Curling, Cracks, or Other Damage
Your shingles are one of the first things that you should consider as they are what hold your roof up. If you find that the shingles are curled, cracked, loose, or have moldy spots on them, a roof leak isn’t far away.
Step 4: Chimneys, Dormers, & Vents
These are an area where water ingress is most prevalent, especially in the case of storms. Leaks most commonly occur near chimneys and therefore require extra sealant. This also means that just because there is a wet spot near the chimney, dormer, or vents, you don’t have a mold or rot problem.
The problem may just be the sealant. Depending on the material used in these areas, disaster restoration service providers can use caulk, sealants, silicone, or other sealants to fix the damage.
Step 5: Get Up on the Roof
And finally, it is time to look at your roof from the outdoors as well. Climb up using a ladder and inspect every flashing and shingle. Start from the top and move downwards. Look for any that are:
- Misaligned
- Lifted
- Missing
- Out of line
- Or have debris stuck in them
For this, you will need to get as flat an angle as possible. Move on to shingle inspection when done. Look for shingles that are:
- Curved
- Cracked
- Rotting
If you manage to catch these issues early on, all you will have to do is get them repaired. Remember, a roof leak is much more expensive and troublesome than these simple repairs. In fact, many of these issues (particularly those pertaining to flashing repair and maintenance) can be fixed with a simple DIY solution!
You can call 911 Restoration of Tahoe any time for help with the mold removal or water damage restoration to your ceiling, walls, or the entire property in general. We can help you with the inspection process and even help find any DIY repair methods, if possible.